


If you’re looking for a more entertaining version of our product manual or if you’ve simply chucked it away with the box somewhere, you’ve come to the right place. We’ll help you get your new LARQ Pitcher PureVis™ up and running in no time!
Before we get into it, we wanted to thank you so much for your purchase. 1% of your purchase goes to removing plastic from our oceans to help restore our environment, thanks to Oceana. We’re confident that your new pitcher will help you reduce the amount of plastic you use at home too. Bye-bye cases of bottled water and unwanted contaminants!
Get to know your LARQ Pitcher PureVis™
There are a few features to the LARQ Pitcher PureVis™ that you don’t get with ordinary water filter pitchers or jugs. Here’s the breakdown of our proprietary PureVis™ equipped water pitcher:
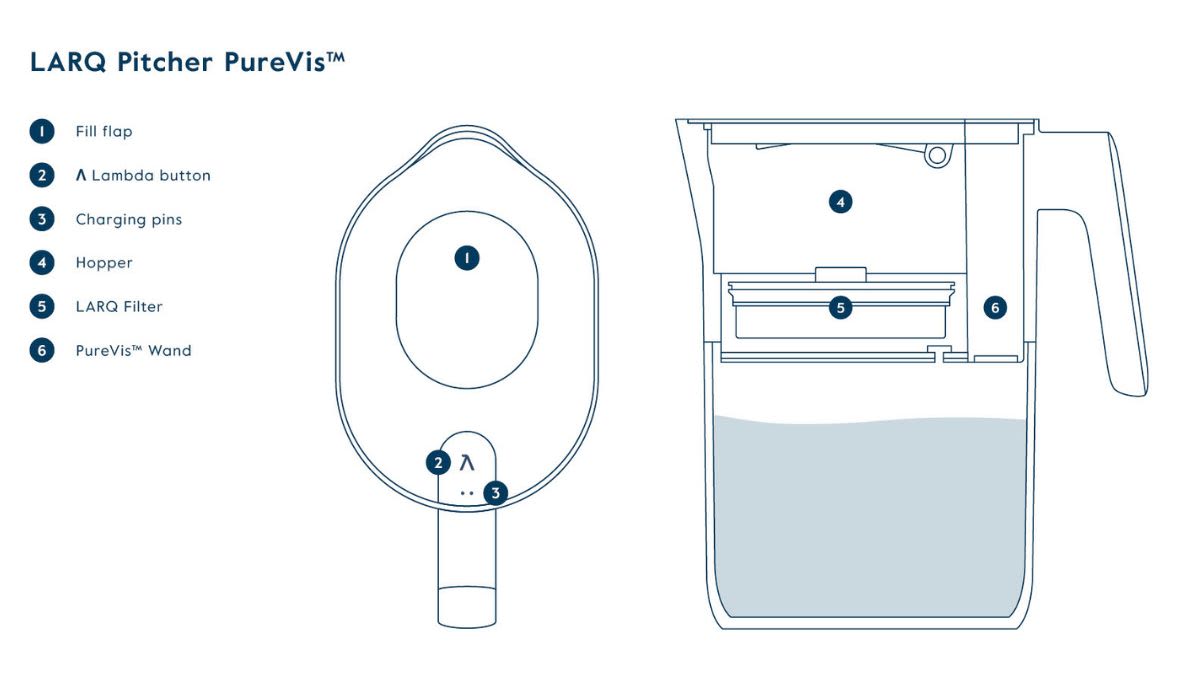
- PureVis™ Wand – you could call it magic since it is the source of the PureVis™ UV-C LED technology that activates every 6 hours to deter microbial growth. This piece is removable so you can take it out to wash with the rest of the pieces before use.
- Magnetic charging cable should be included in the box. This will power the PureVis™ Wand. When charging, make sure that the charging pins are making contact with the two charging pins (see diagram) on the top of the PureVis™ Wand
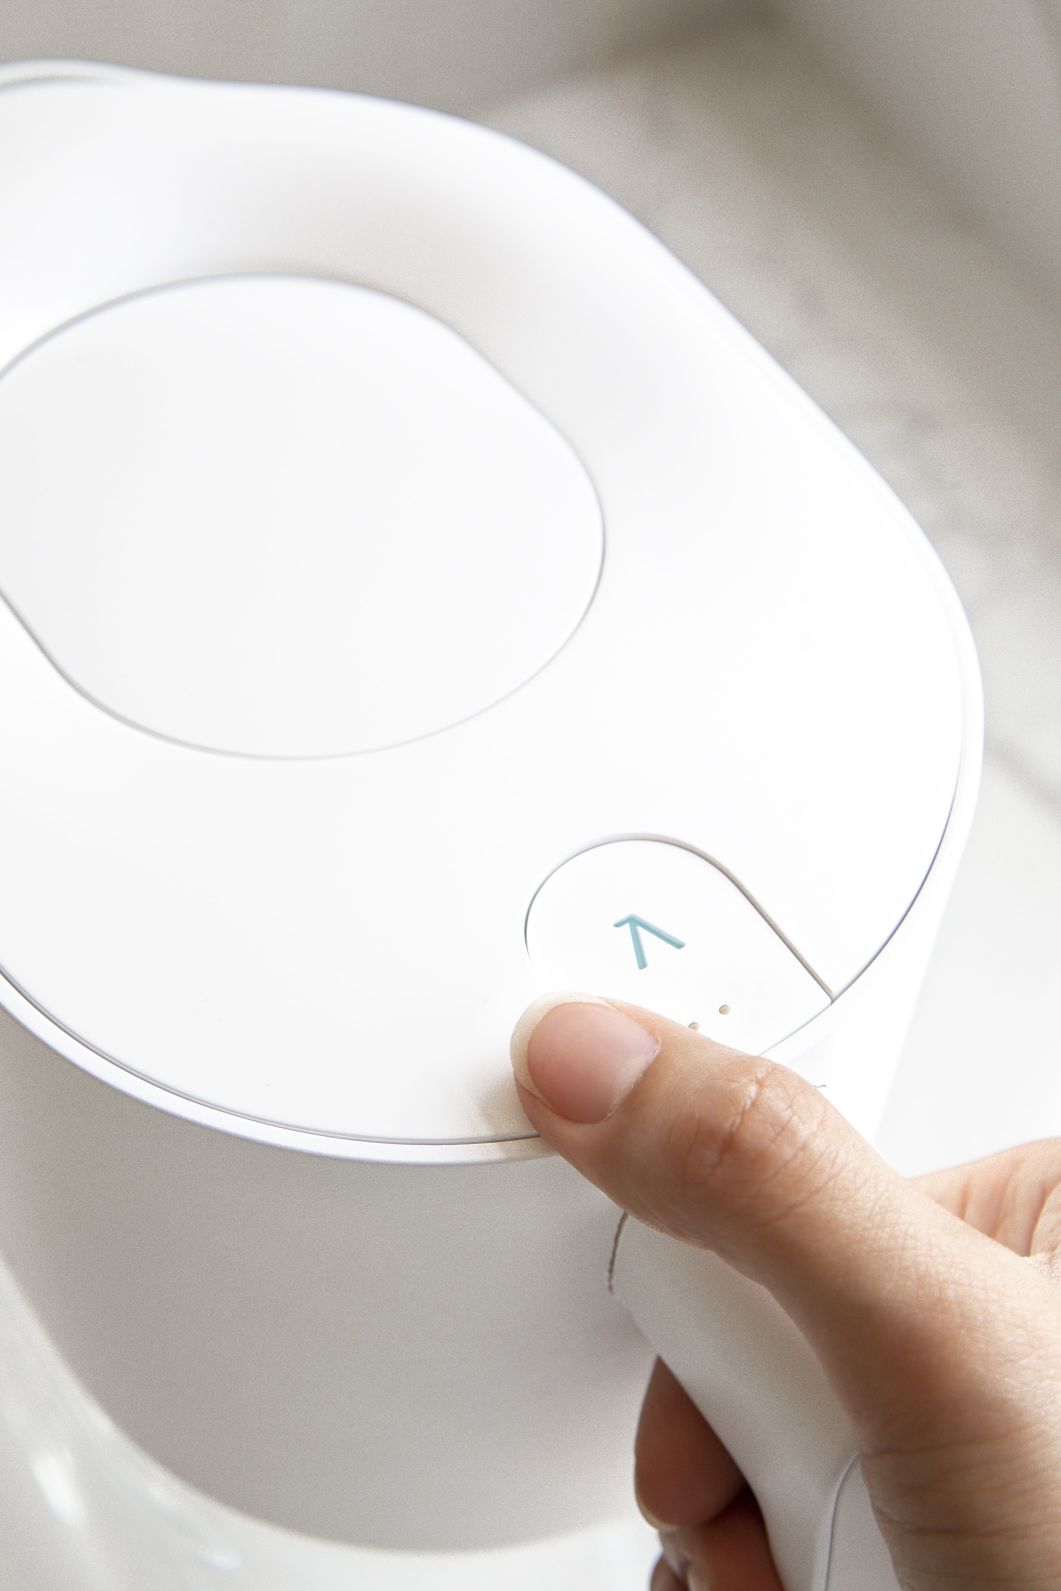
- Λ Lambda button – clicking this button at the top of the PureVis™ Wand manually activates a PureVis™ cleaning cycle. A blue light will appear signifying that the cleaning cycle is in progress — but more on the lighting indicators later.
In the diagram below, you can easily see each piece we will be referring to in this guide.
Now, let’s get it set up.
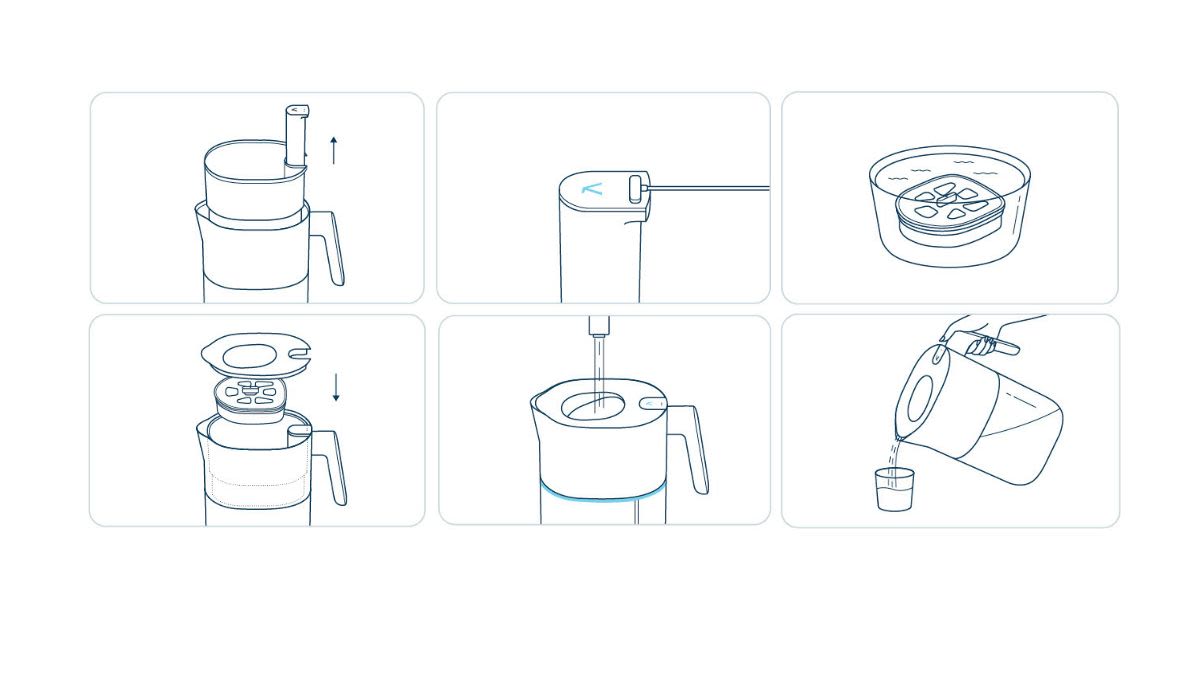
- Remove the PureVis™ Wand from the LARQ Pitcher PureVis™. Give each piece of your LARQ Pitcher PureVis™ a warm soapy wash before use. Do NOT use an abrasive or scrubby sponge on the Pitcher as it will cause scratches and reduce the efficacy of the PureVis™ technology. Leave to air-dry or towel dry.
Be sure to remove all of the packaging from your Pitcher, including the often-missed foam support blocks under the lid! - Wake up your LARQ Pitcher PureVis™ by simply charging the PureVis™ Wand. Connect the magnetic charger to the gold charging pins on top of the PureVis™ Wand. We recommend a full charge to kick things off right.
- Next, remove the filter from its packaging and soak the filter in water for 10 minutes before first use.
If your filter looks wet inside the packaging, that’s totally normal! We use a process that helps preserve the plant-based filter media while it’s in storage. - Give the filter a firm tap on a flat surface to release any air pockets that may prevent water from flowing through it easily. Then, snap the filter into the hopper and put the filter lid on, followed by the pitcher lid.
- Press the Λ button for 5 seconds to let your pitcher know you are installing a new filter (the indicator light will turn white for 5 seconds followed by a flash of blue light). Then, fill up the reservoir with tap water. Once it’s done filtering, pour out the first batch.*
*Note: you may notice some black carbon dust in the water on your first use or after a prolonged period of not using the LARQ Pitcher PureVis™. This is harmless carbon from our plant-based filter media. If desired, simply run a batch through the filter and pour out. - The PureVis™ Mode will automatically activate as the LARQ Pitcher PureVis™ is being filled with water. A blue breathing light indicates that the LARQ Pitcher PureVis™ is on as water is filtered through. A 30-second PureVis™ cycle can also be manually activated by pressing the Λ button.
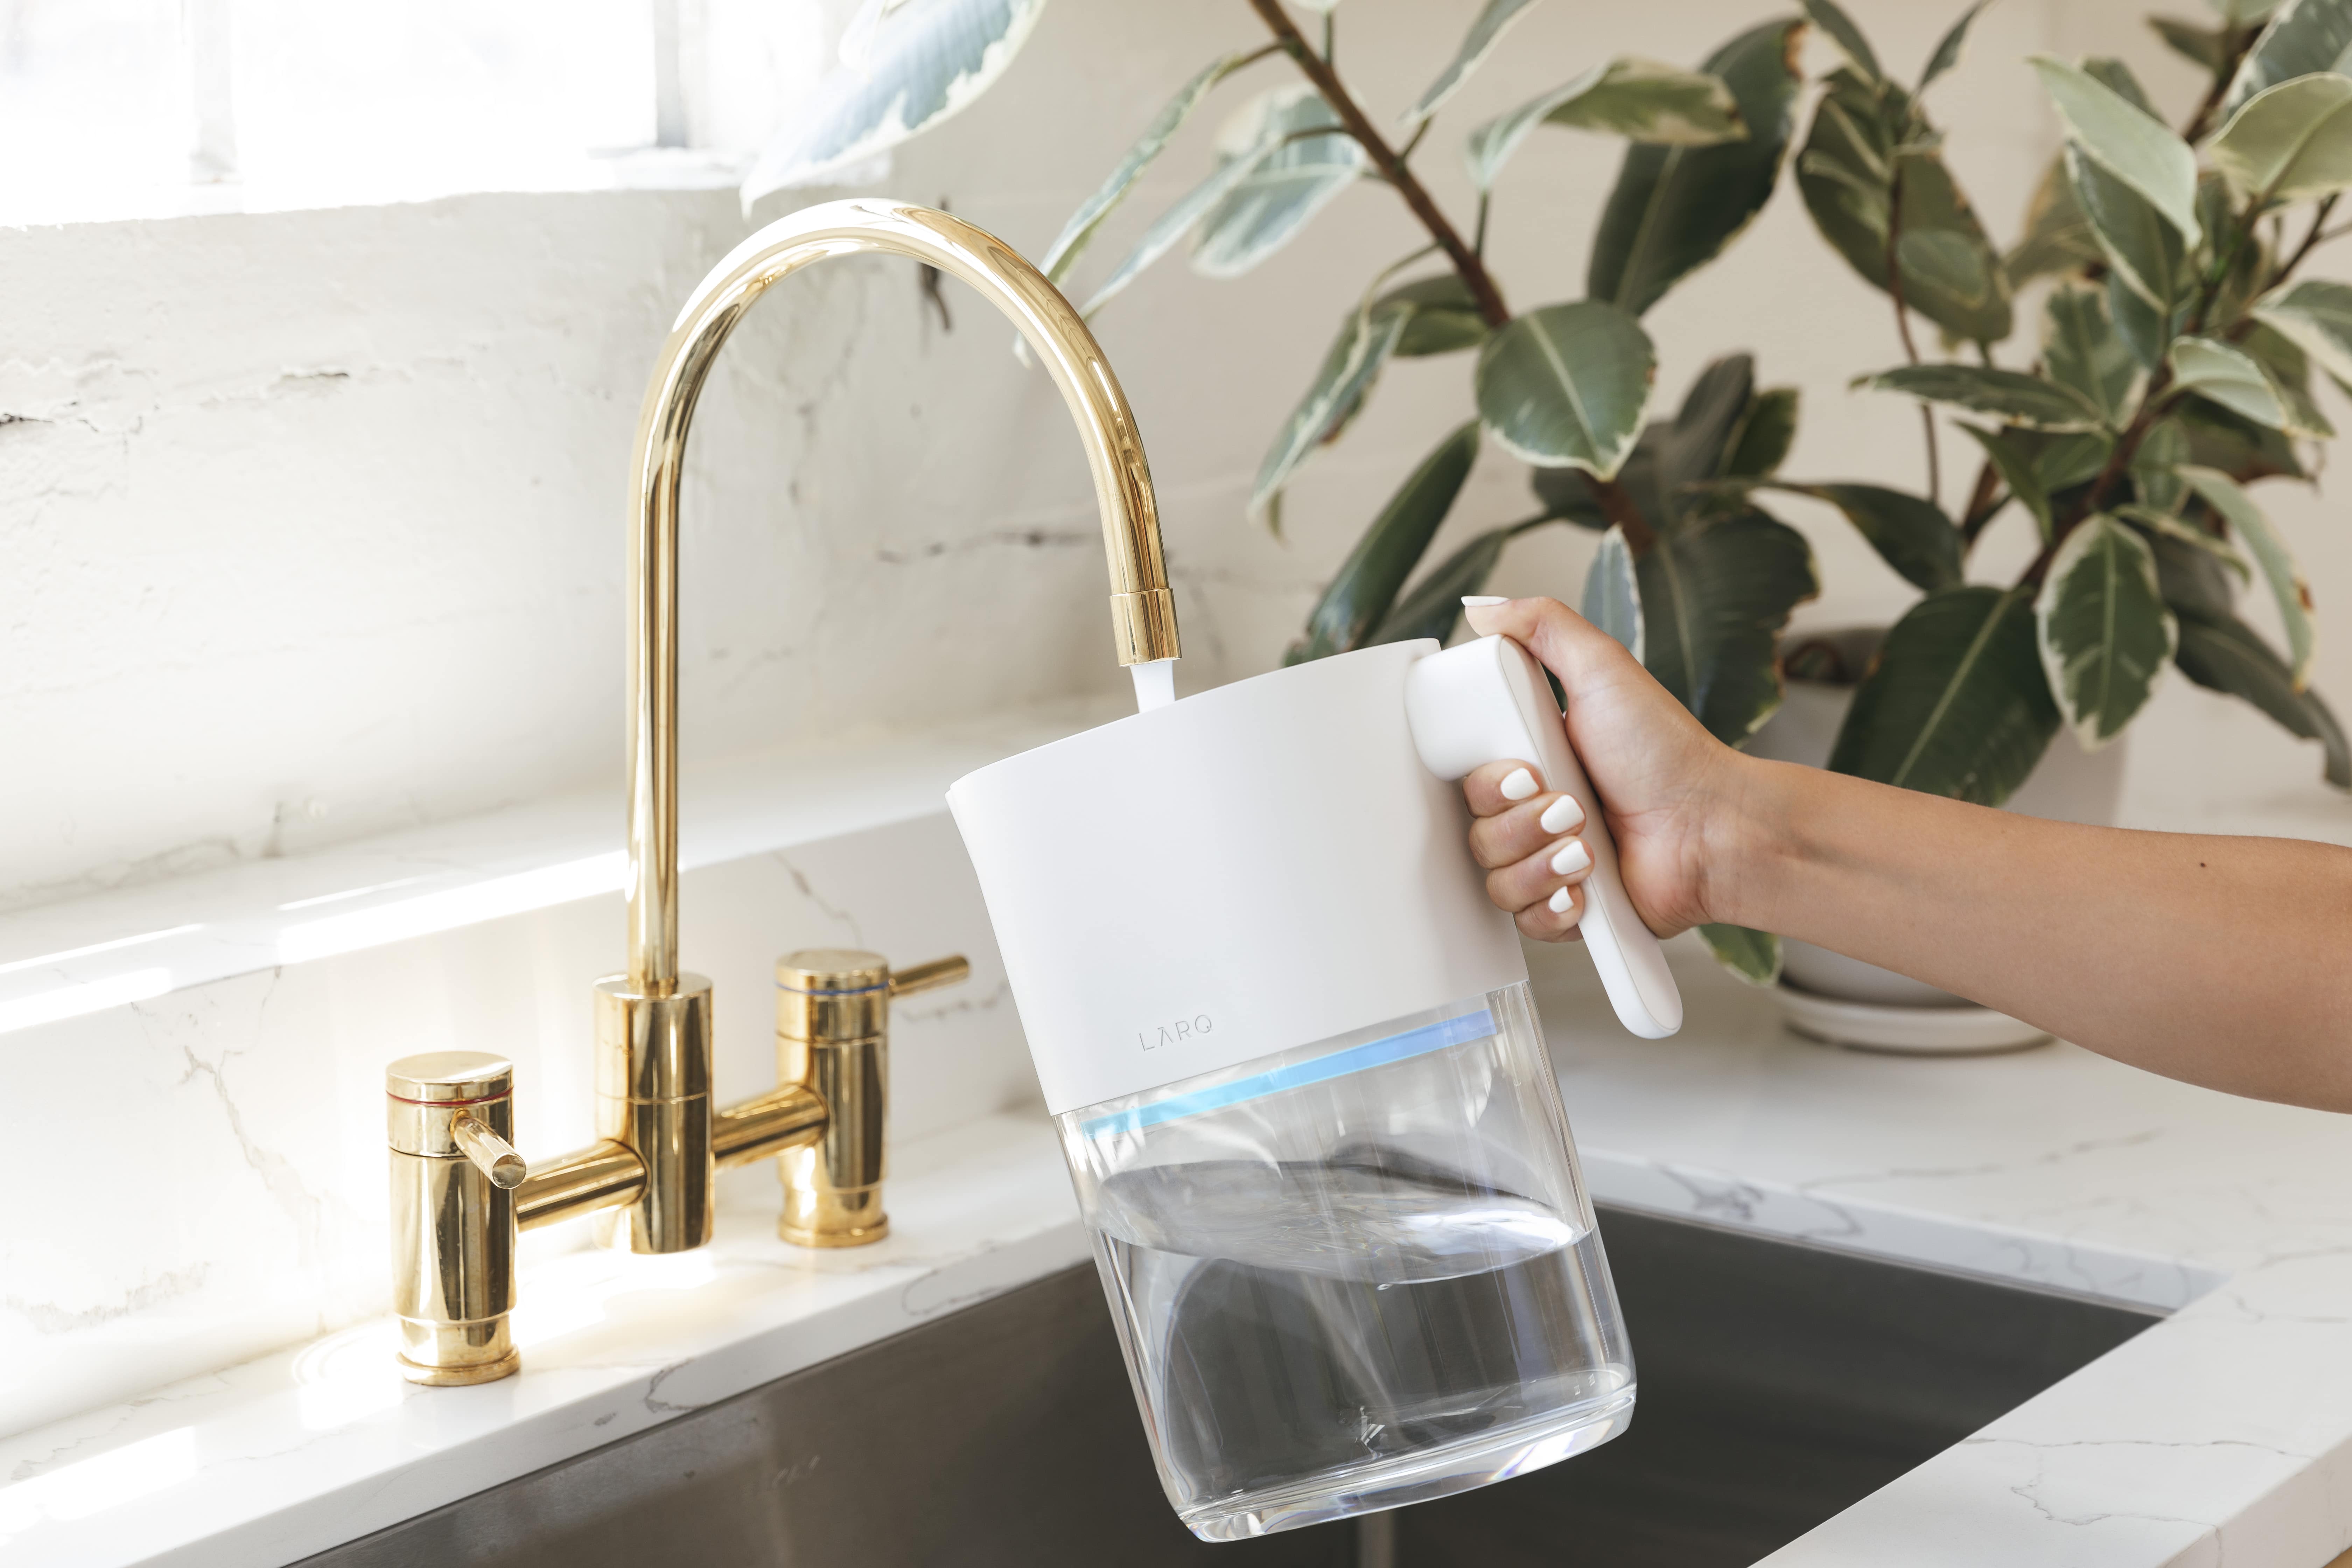
And that’s it! Go ahead and pour yourself a tall glass of water and enjoy pure water beyond filtration!
Download the LARQ app
While your LARQ Pitcher PureVis™ is filtering out its first batch, this is a great time to download the LARQ app, which currently is available on iPhones only* in the app store. Though the LARQ Pitcher will use it’s lighting behaviors to let you know when your filter or battery life is low, the LARQ app makes it a bit easier to keep track of. You can also give your pitcher a fun name, track your household water consumption, and order new filters within the app!
*Note: We are working on bringing this to Android users as well, so sign up for newsletters if you’d like to know about these types of updates!
What do the different light colors mean?
Breathing green light – I’m charging!
Steady green light – I’m fully charged!
Flashing green light – Low on battery. Green light will flash twice before a cleaning mode.
Breathing sky blue light – PureVis™ cleaning mode is in progress
Orange breathing light – Less than 20% filter life remaining. Make sure you have a new filter ready for the next replacement! Order replacement filters here (Tip: get a filter replacement plan so you don’t have to worry about your next replacement arriving on time!)
Flashing orange light – Your filter needs to be replaced as soon as possible for optimal filtration and water quality!
Red solid light or flashing purple light? – Oh no! Something is wrong. Go to www.livelarq.com/warranty-claim.

Product care
PureVis™ technology activates automatically in the background to help keep your LARQ Pitcher PureVis™ clean. However, we do recommend washing the LARQ Pitcher PureVis™ (it’s dishwasher-safe!*) every 2-3 months when you need to replace the filter for a quick reset clean.
Before washing the LARQ Pitcher PureVis™, remove the PureVis™ Wand and hand wash with mild soap and warm water. Don’t worry, the PureVis™ Wand is completely waterproof! However, do NOT put the PureVis™ Wand in the dishwasher.
For the most seamless experience, we also recommend that you give the PureVis™ Wand a full charge every time you replace the filter.
*In lab testing, PureVis™ prevents and deactivates naturally occurring heterotrophic bacteria that may cause odor and impact the taste of water compared to non-UV treated water pitchers.
**Put smaller parts like the LARQ Pitcher PureVis™ lid, hopper, and filter lid in the top tray of the dishwasher. Do NOT put the PureVis™ Wand in the dishwasher, hand-wash only.
Still got questions? Refer to our FAQ for more nitty gritty details.